Accessing Department Fileshare
The primary mountpoint that Faculty and Staff may want to access is the Dept directory. This is a samba mount on fs1.
smb://fs1.cs.wwu.edu/Dept
Note that this mountpoint may be different for alternate distributions of Linux. For example, on the Mint distribution, the mountpoint would look something like smb://WWU;<your-username>@fs1.cs.wwu.edu/dept/.
Methods for Access
Ultimately you can use whatever tool(s) you prefer. We have provided a couple of examples below but there is no “Support Prescribed” solution.
If you are off-campus, you do not necessarily need to remote into your workstation to access FS1. If you are on the CSCI Faculty/Staff VPN (not the WWU VPN or the CSCI Student VPN), you are able to simply connect to the VPN and access FS1.
Linux - gio
Connect to VPN
Connect to your system
If in a GUI session open a terminal
Issue gio command
Authenticate
Change to directory
Example:
strongbad@linux-03:gio mount smb://fs1.cs.wwu.edu/Dept
Password required for share dept on fs1.cs.wwu.edu
User [strongbad]:
Domain [WORKGROUP]: wwu
Password:
strongbad@linux-03:~$ cd /run/user/$(id -u)/gvfs
strongbad@linux-03:/run/user/12345/gvfs$ ls 'smb-share:server=fs1.cs.wwu.edu,share=dept'
strongbad@linux-03:/run/user/12345/gvfs$ cd smb-share\:server\=fs1.cs.wwu.edu\,share\=dept/
strongbad@linux-03:/run/user/12345/gvfs/smb-share:server=fs1.cs.wwu.edu,share=dept$ ls
Linux - GUI
Connect to VPN
Connect to your system
Open your window manager
-
Select
Other Locationsin the bottom left corner of your window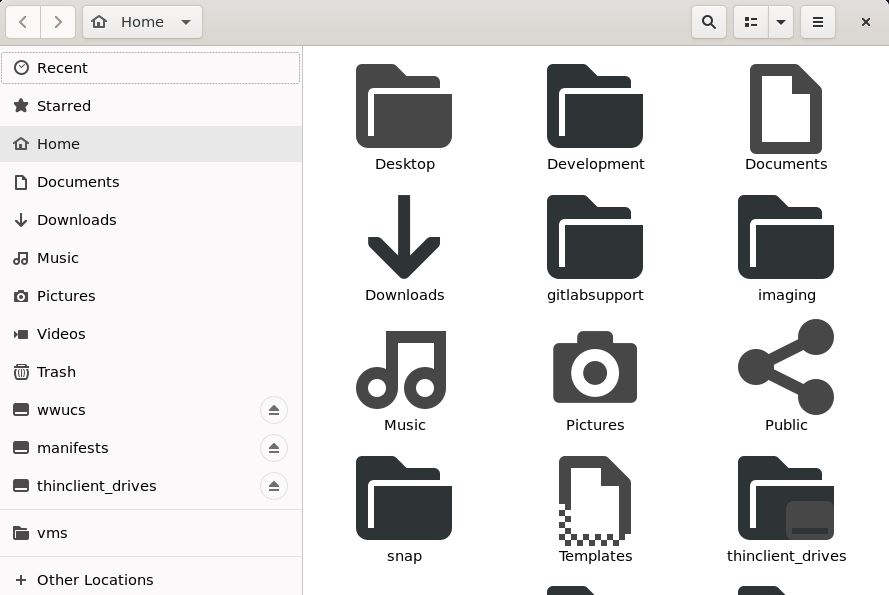
-
Enter the mountpoint in the
Connect to Serverbar at the bottom and PressConnect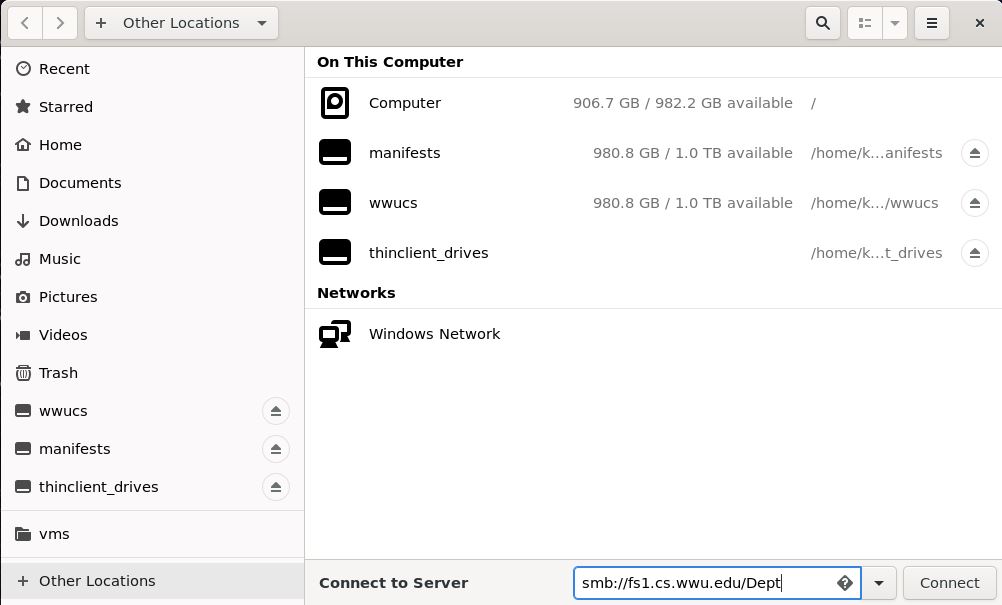
-
Select
Registeredradio button, set domain towwu, and enter WWU credentials and pressConnect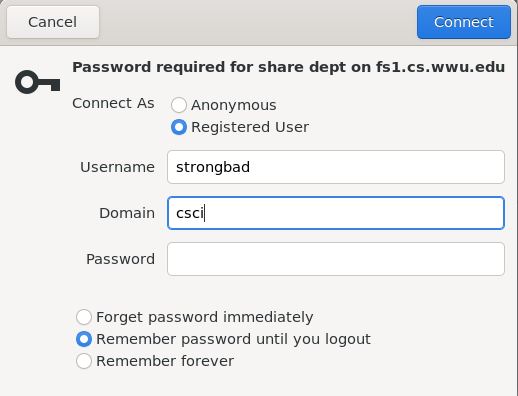
Windows - GUI
Images will be coming soon
Connect to VPN
Connect to your system
Open File Explorer
Right-Click on
This PCSelect
Add a network locationChoose a custom network location
Enter
\\fs1.cs.wwu.edu\Deptand selectBrowseIf prompted, enter your WWU Credentials
Enter a name for the location