Linux/BSD - Network Manager
Use of the VPN is required to access department resources from off-campus. This provides greater security than if department-operated systems were exposed directly to the Internet.
NetworkManager is a common network configuration tool that is present in many Linux distributions. It presents an easy to use GUI to configure your network settings, including various VPN services such as the one leveraged by the department.
Required Dependencies
The NetworkManager and NetworkManager Applet are usually installed by default in most Linux distributions, but the plugin for OpenVPN is not. The exact package names can vary from distribution to distribution, but here are some common ones, along with their easy copy/paste install lines.
Debian/Ubuntu and derivatives
sudo apt install network-manager-openvpn-gnome
Fedora
sudo dnf install NetworkManager-openvpn-gnome
Arch and derivatives
sudo pacman -S networkmanager-openvpn
Using your distribution’s package manager, install the package and proceed to Create the VPN Entry.
Note
You may need to restart your NetworkManager instance before the plugin will be detected. Depending on how your system is configured this could be as simple as logging out of your session and back in, or may require to restart the service via systemctl. If you don’t want to worry about which way it’s configured, you can reboot your entire system.
Create the VPN entry
Download this configuration file by right-clicking on it and selecting “Save Link As”. This file should go in a known location, such as your Downloads directory. You will use this file in a couple of steps.
Right click the NetworkManager Applet icon – which will look similar to either the “NetworkManager Applet (Wired)” ( ) or “NetworkManager Applet (WiFi)” (
 ) depending on if you’re using Ethernet or WiFi.
In the new menu that pops up, select Edit Connections which will open a new window similar to this:
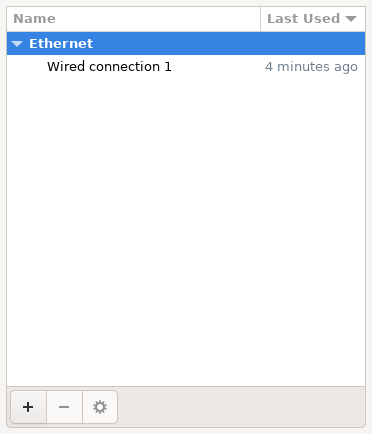
Click the + icon in the lower left hand corner to have it open a new window where you can select the type of connection to create:
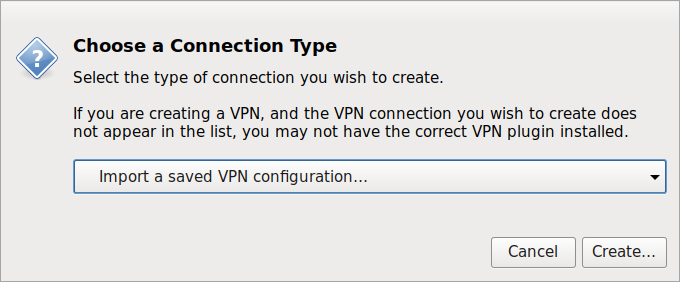
Select Import a saved VPN Configuration... from the drop down list, and click the Create... button in the lower right hand corner.
A file browser dialogue should appear, allowing you to browse to the configuration file downloaded earlier.
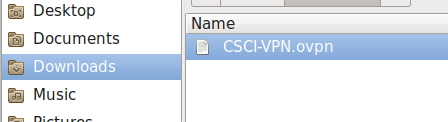
Select the file and click the Open button in the lower right-hand corner of the dialogue.
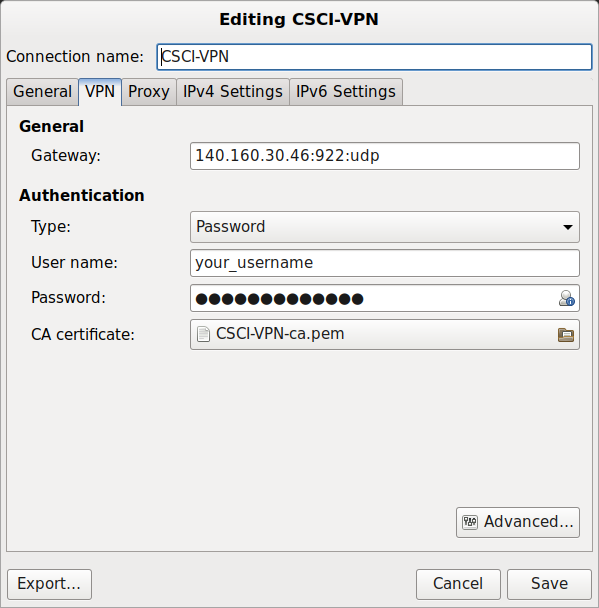
The configuration file should be imported into a new profile, and a
dialog window should appear verifying the settings. Please enter your
WWU username and password combination here, but do not click
Save yet.
First we need to adjust the routes that will be used with the
VPN. Click on the IPv4 Settings tab at the top of the window,
which will adjust the window to show the following.
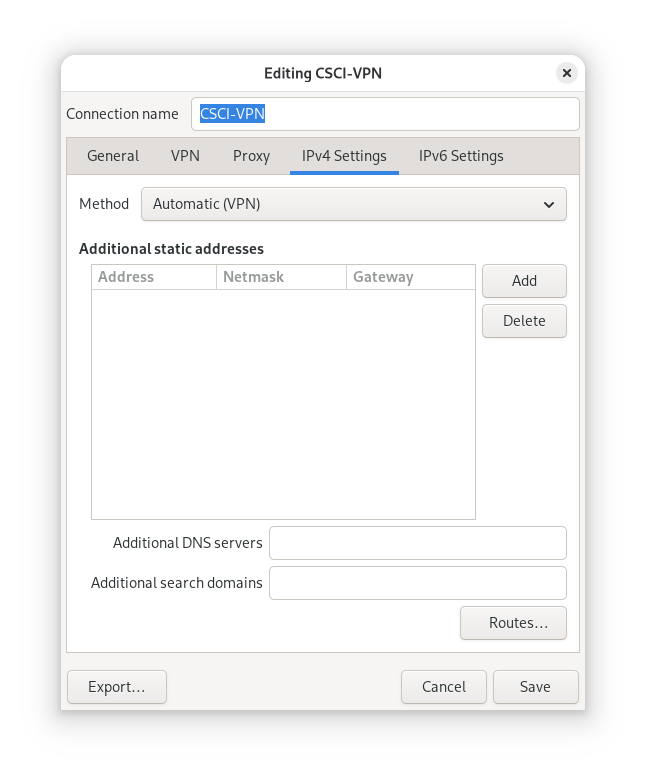
Once on that screen, click the Routes... button on the bottom
right side of the window, and another new window will open similar to
this:
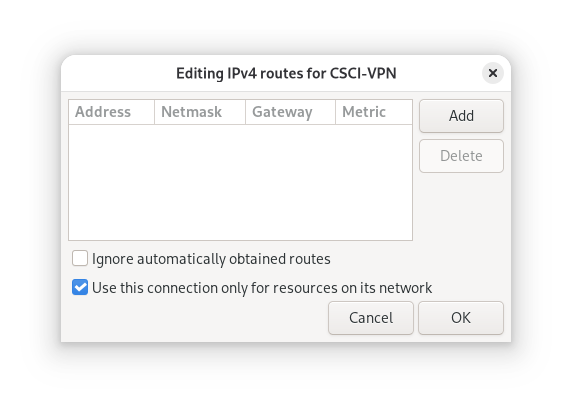
On this window it is very import to check the box next to Use
this connection for resources on its network. Click the OK
button after checking the box to limit what traffic is routed over the
connection, which will return you to the previous window.
It is suggested you repeat the process for the IPv6 tab as well, though there are not currently any IPv6 routes being pushed at this time.
Double check everything has been entered on the three tabs mentioned
above, and finally click Save to create the connection entry.
Connect to the VPN
Left-click the NetworkManager Applet icon, and hover over the VPN Connections menu entry to reveal the newly created VPN connection, which should be called CSCI-VPN. Select it from the list, and a connection should be established.
If your connection is successful, you will see a new lock icon ( ) that overlays on top of your NetworkManager Applet icon in the lower right hand corner:
Disconnect from the VPN
When work has been completed, left-click on the NetworkManager Applet icon, then disable the VPN with the switch/slider at the top of the VPN Connections menu section.