Windows
Installing the CSCI VPN client for Windows
Use of the VPN is required to access department resources. This provides greater security than if department-operated systems were exposed directly to the Internet. The VPN is for use from off-campus only; it is not necessary to use the VPN from on-campus.
To install the Computer Science department VPN, open the web browser of your choice and browse to https://openvpn.net/vpn-client/. You will be presented with a window that looks similar to the following:
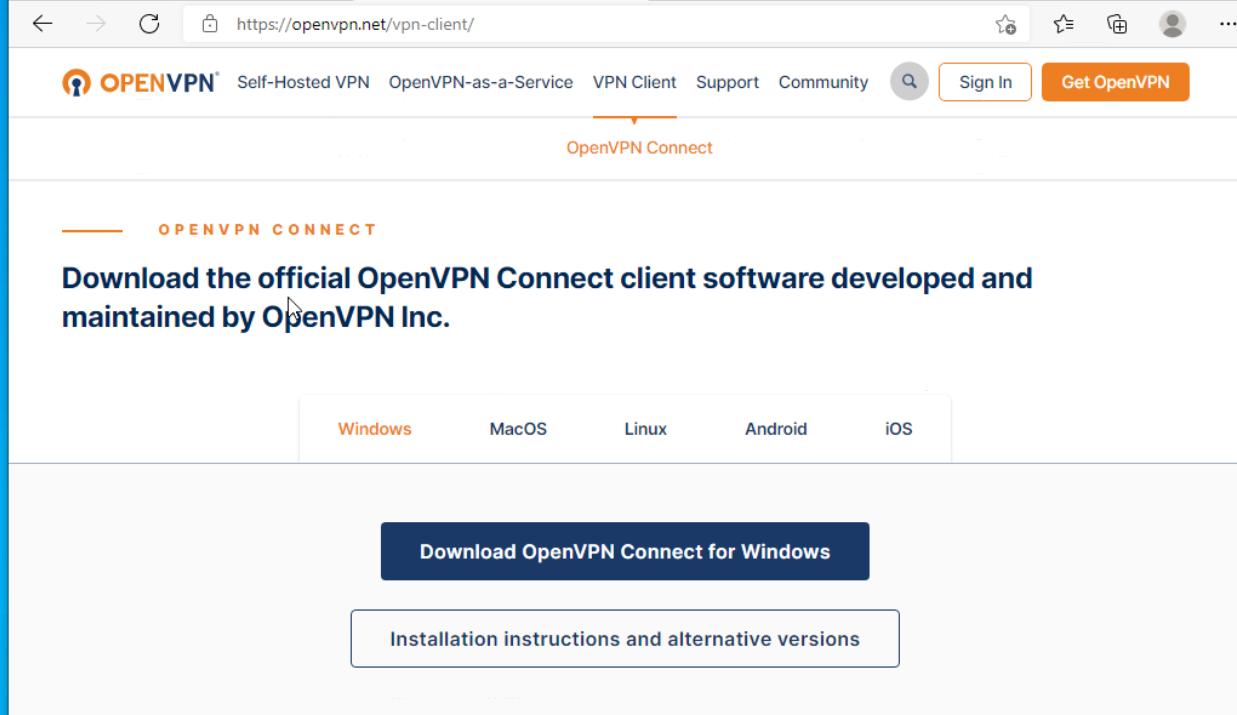
Click the “Download OpenVPN Connect for Windows” link to download the VPN client, and save the file in a known location, such as the “Downloads” folder:
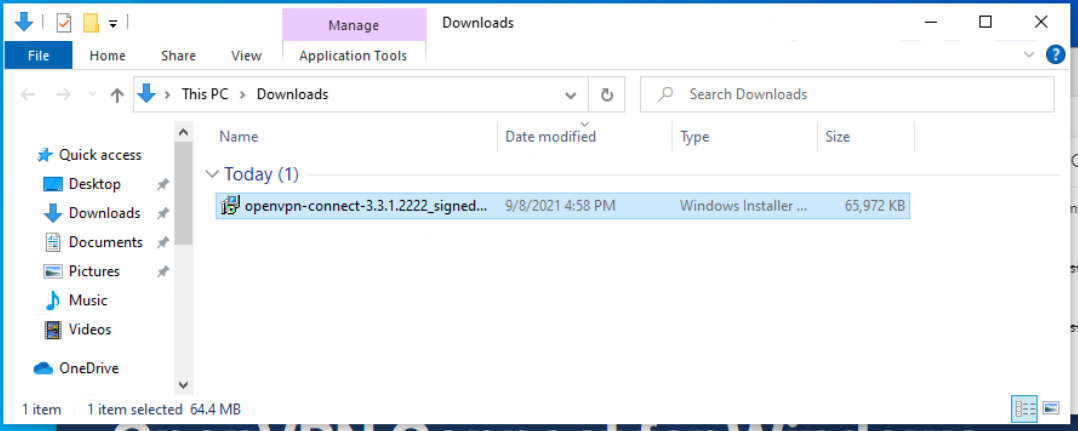
Double-click on the installer.
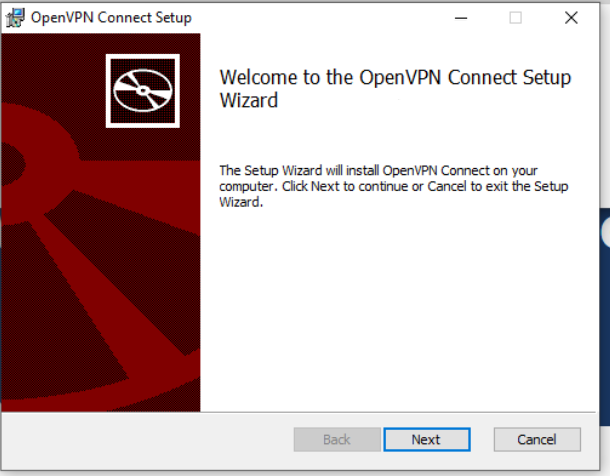
Proceed through the series of setup dialogue boxes, first accepting the license agreement.

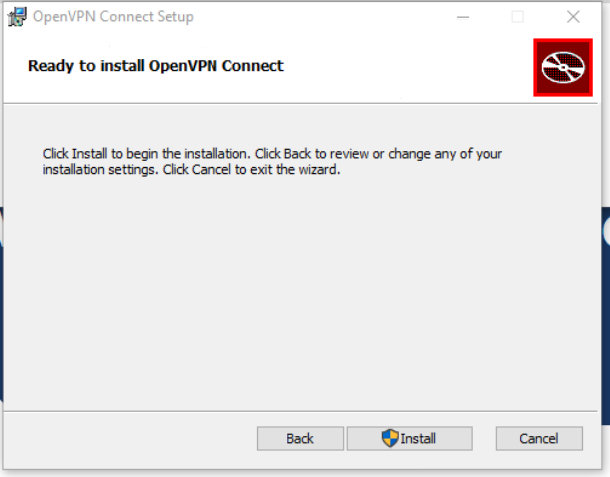
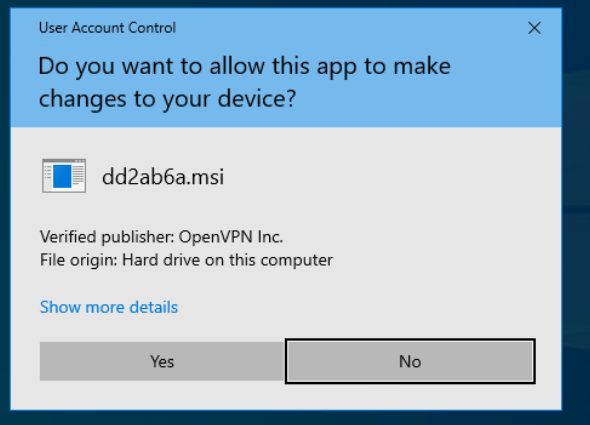
Finish the setup, and the OpenVPN Connect client will launch.
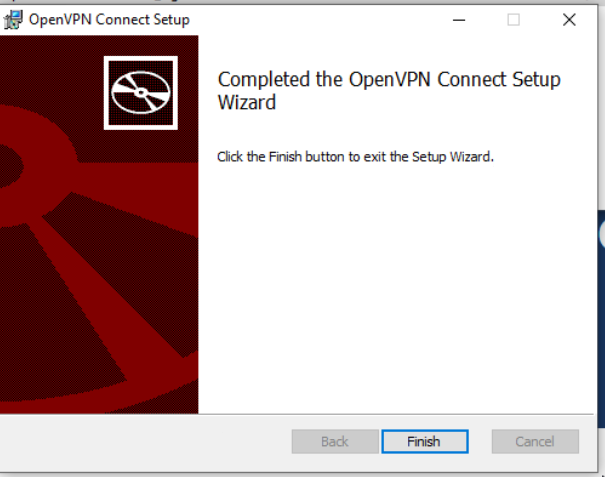
Click the light-grey “X” (circled in red) to close the introduction page.
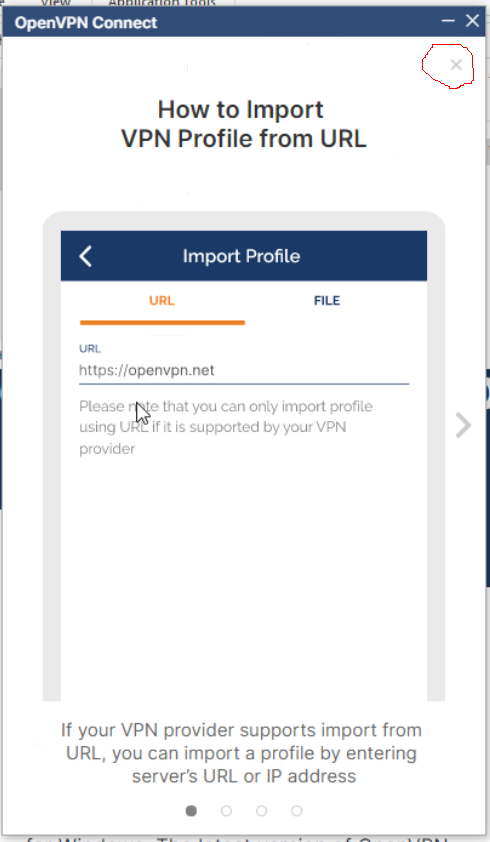
Accept the terms and click OK to close the page detailing latest updates.
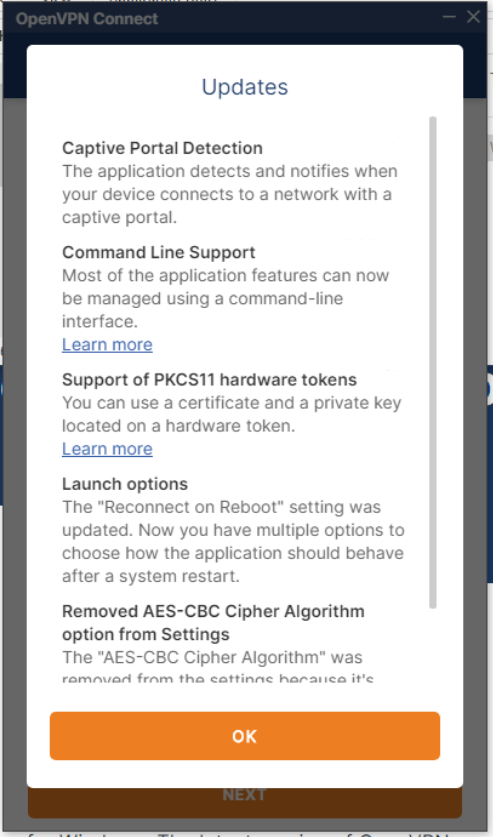
Download this configuration file by right-clicking on it and selecting “Save Link As”. This file should go in the same location as before (e.g. Downloads folder).
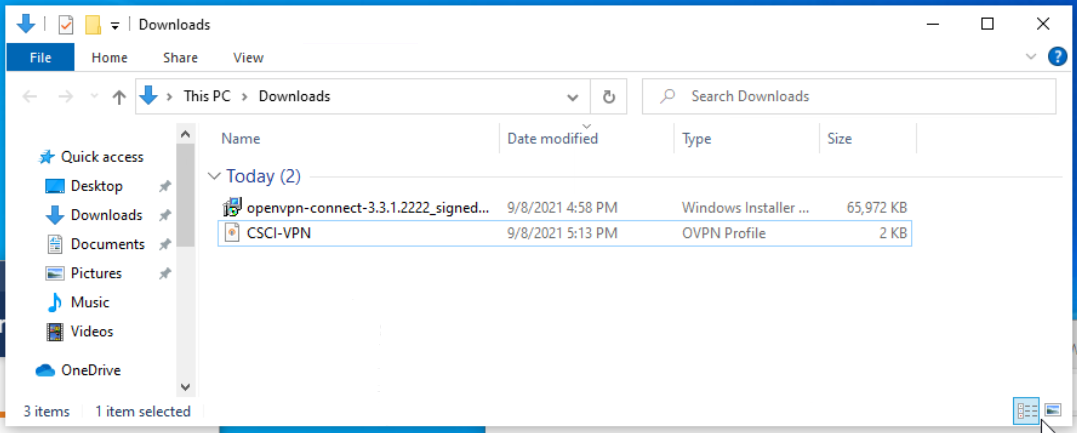
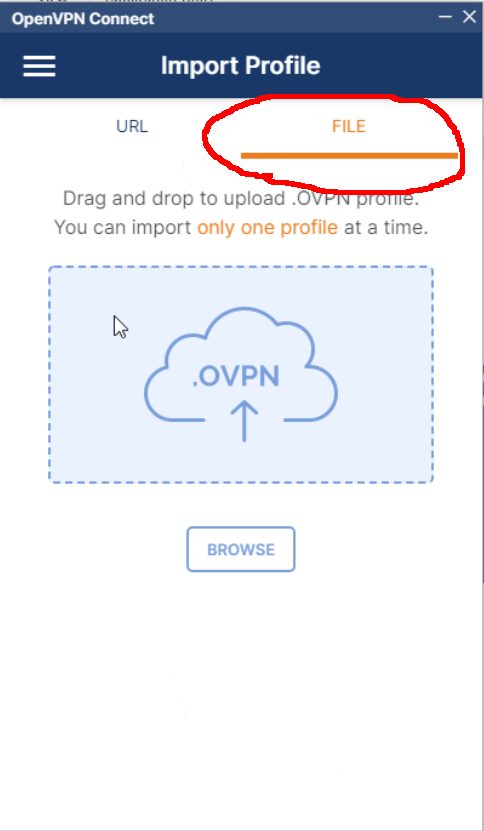
On the “Import Profile” page, select “FILE”, circled in red, then drag-and-drop the file that was just downloaded into the blue box.
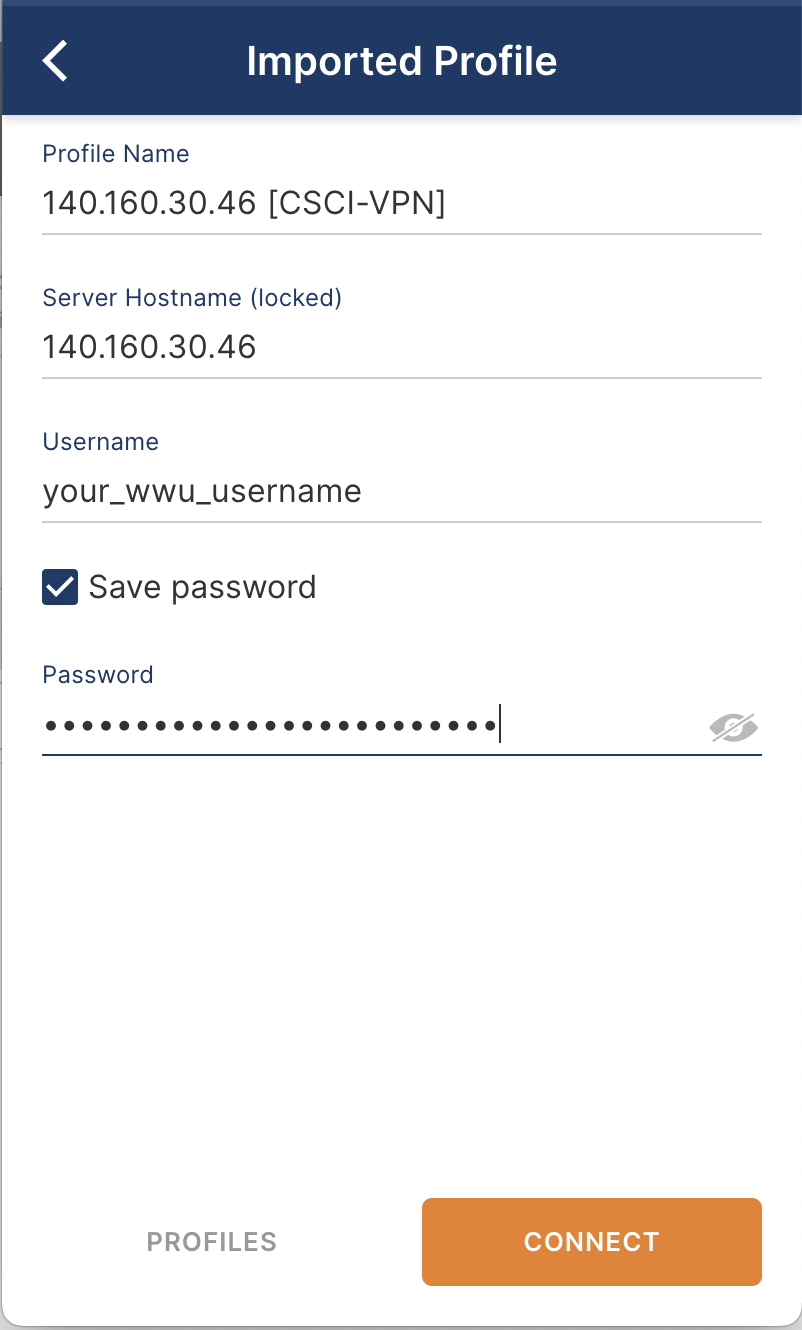
The “Imported Profile” box will be displayed next. Verify the settings are loaded as displayed, then provide your CS (not general university) username and password, and click “Connect”.
Upon successfully connecting, the VPN client will display the following dialogue.
After the VPN client is connected, you may use your system as normal, connect to Computer Science department resources, etc.
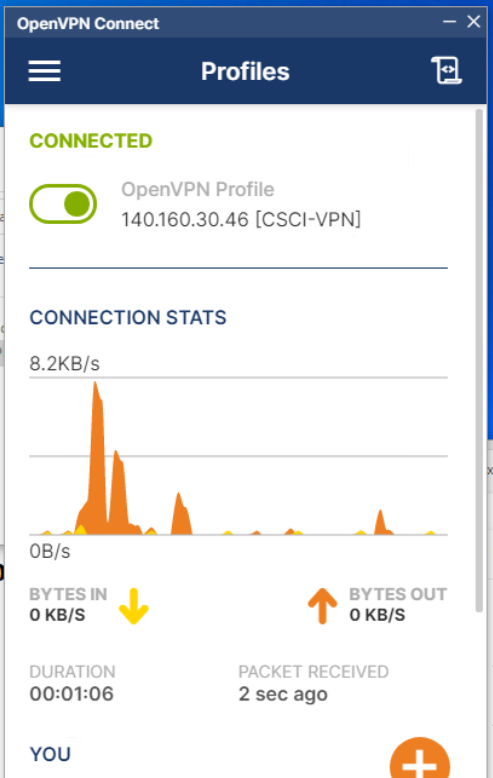
When you are finished, please disconnect from the VPN by clicking the green toggle. The VPN client can be minimized to the system try (by the clock), which has an icon that appears lower-right in the following image.

To start another session, the client may be re-opened by clicking the system tray icon, or the corresponding icons on the desktop or start menu.
