VS Code Through CSCI VPN
Background
tl;dr DO NOT RUN VSCODE ON THE LINUX CLUSTER OF WORKSTATIONS (COW)
As part of its remote connection process, VS Code uploads a large binary to the remote machine and executes it on the remote side, producing a not insignificant load on the machine. This creates an additional load that is not common with Emacs / Vim usage. So while 20+ people could connect and run Emacs or Vim, once you get more than 4-5 people connecting with VSCode the system becomes unresponsive. As such, this page will help you create a connection to a sit down lab machine, once connected to the CSCI VPN. You must be connected to the CSCI VPN because lab machines are not directly reachable from the internet. This way allows a person to remotely connect to a real lab system and run the big VS Code remote binary there, instead of everyone dogpiling on the old machines that comprise the Linux CoW and crashing them.
Initial Requirements
Linux / macOS / Windows computer that has VS Code with Remote - SSH extension installed, and OpenVPN client installed and configured.
Connect to the CSCI VPN
Directions for this vary between operating systems, but the Access page has details for Linux, macOS, and Windows.
Linux / macOS / Windows 10+ Setup
NOTE: If you already setup your ssh config file by following the Remotely Accessing Resources then you don’t need to add anything from this step. You can go to the Connecting to a Lab Machine After Setup step.
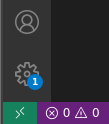
Click the green icon in the bottom left corner to get the remote connections window.
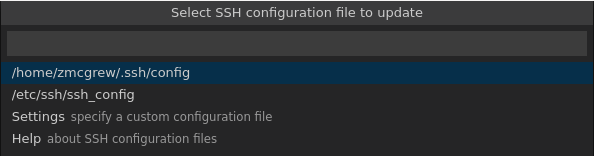
In the newly opened Command Palette click on the “Remote-SSH: Open Configuration File…” entry.

The Command Palette will update to now show the default file paths for your ssh configuration. Click on the first entry, which should say something like /home/${USER}/.ssh/config or /Users/${USER}/.ssh/config or C:\\Users\\${USER}\\.ssh\\config– where ${USER} is your local username.
In the file named config you should insert the following:
Host cf???-??
  HostName %h.cs.wwu.edu
  Port 22
  User ${username}
Be sure to replace ${username} with your WWU username, not your local username.
Save the file, then proceed to the Connecting to a Lab Machine After Setup.
Connecting to a Lab Machine After Setup
First, ensure you can connect to a host from your terminal. If you can’t connect using the terminal, it will not work from VS Code.
Pick a random host to test with:
ssh cf405-09
Stop here and ensure you can connect to the desired host from your terminal before continuing.
If you can’t connect, the above command should give you a clue as to why. Here’s two common errors:
Permission denied
Did your WWU password expire? Have you reset your WWU Password?
https://atus.wwu.edu/accounts-passwords-and-access
Did you use the correct username?
Your username is the same as your WWU Universal username. This does not include the “@wwu.edu” portion. Ex: myusername@wwu.edu is just myusername
Are CS services activated for your WWU Universal account?
CS services for new students are activated as data becomes available, starting the morning of the first day of classes and each morning thereafter into the first full week of classes. If you registered for a CS class after the first day of classes and still don’t have access by Tuesday of the next week please reach out to support.
Name or service not known
Check your configuration
If your config file is not setup correctly, the above command will not know about matching the cf???-?? pattern, and that it needs to connect on port 22 to get there.
Check your spelling / numbers.
cf405-09 is not the same as cf405-009
Once you have confirmed you can connect from the terminal, return to VS Code and begin the connection process.
Click the green “Remote-SSH button again to open the Command Palette and suggest the remote connection options.
But this time click “Remote-SSH: Connect to Host…”

The Command Palette’s prompt will change, allowing you to enter a host name.
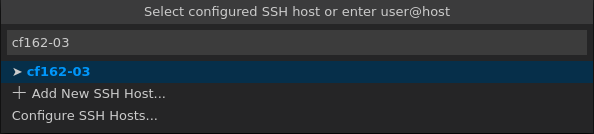
In this prompt you can enter a CSCI lab machine host name and press Enter. The following are available, but may not be booted into Linux. You may have also been assigned a particular system by your professor. If that is the case, please use your assigned system. Otherwise you can use one of the following:
CSCI Lab Hosts |
|---|
cf162-[00:25] |
cf164-[00:26] |
cf165-[00:26] |
cf167-[00:24] |
cf405-[01:26] |
Please note that all the hostnames use two-digits, so 00, 01, 02, etc.
You’ll see something like this the first time, asking you to select the platform type.

Click “Linux” then you should get pop-up asking you to accept host keys and enter your password.
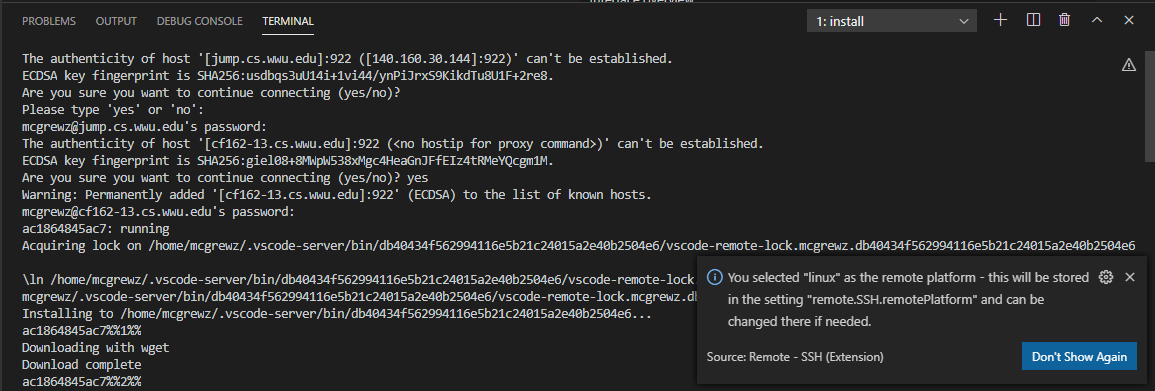
Note: Sometimes the Command Palette will be prompt for your password instead of the lower terminal. The cause of this is undetermined.
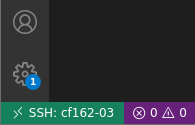
You should now see the green button in the bottom right change to show that it’s connect to the remote lab machine.
Now click the two files icon in the Activity Bar to open the directory browser in the Side Bar.

In the Side Bar click the blue “Open Folder” button to pop-up the Command Palette.

The Command Palette will prompt for the path to browse. Enter the path to your directory (VSCode usually auto-suggests the correct path), then click OK.

Your directory should now appear in the Side Bar, allowing you to remotely edit code!